
I have been playing around with the TwoTrees TTS-5 laser engraver for the past month. Aside from the smoke and the smell, I loved every part of this device.

What is the TwoTress TTS-55 Laser Engraver?
The TTS-55 is a successor to the TT-5.5S laser engraver from Twotrees Technology which comes with a 5W laser module and a large 300mm x 300mm workspace. It is designed for beginners and is an amazing piece of design to have around if you are into creating cool stuff.
This machine is capable of engraving a wide range of materials, including wood, acrylic, metal, cardboard, leather, and many more. For this review, I used it mainly on wood and cardboard.
Unboxing
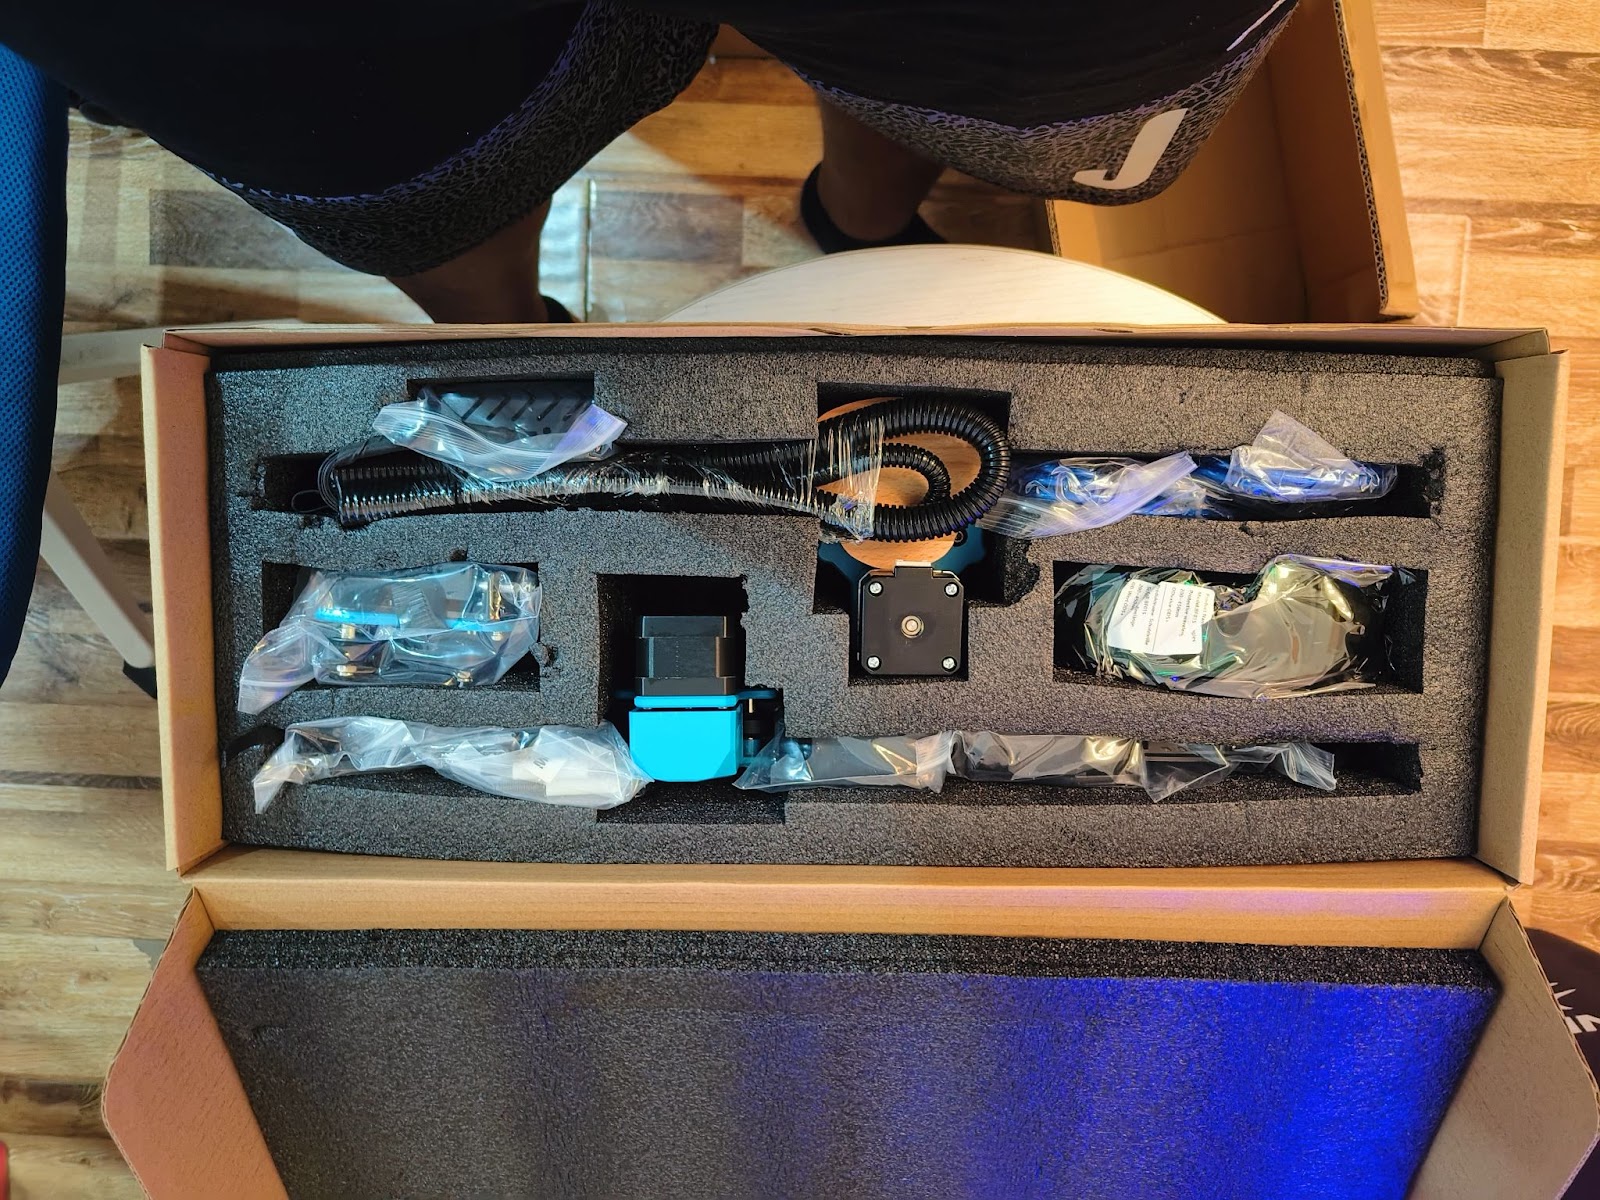
The unboxing experience was as normal as it gets. The list of the things in the box includes:
- Four bars for the frame, probably made of aluminum alloy of some sort. Either way, they feel light but are very strong.
- The laser head came in a smaller carton.
- Acrylic laser filter
- A pair of safety goggles
- A small cylindrical metal was used to measure the laser’s height.
- A set of tools
- A user manual
I am impressed with the overall packaging. The laser head came in a separate box from the rest and everything was well padded.


Description
The four bars form the primary frame and are held in place by the screws included. They have markings on them that are very useful when determining the size of your cut. It is kept a few meters above the table by the stands.
The control board sits on the front with the TwoTress logo printed on the front. On the control board, there is a TF card slot, a power button, a USB TYPE-B slot, and a slot for the power cable.
The company marketed the TTS-55 as 60% preinstalled out of the box and it sounds about right because it took me less than an hour to put the thing together.

Two stepper motors on either side of the frame control the X and Y-axis movements. The wires were already bundled beautifully, so all I had to do was just plug them into the motors.
Parameters
- Model number: TTS-55
- Type: Laser Engraving
- Material: Aluminium + Metal
- Control board: LTS ESP32 (32bit)
- Laser wavelength: 445nm
- Laser power: 5500mW (LD+FAC)
- Engraving Size: 300mm x 300 mm.
- Laser input: AC100-240V
- Power supply: 12V 4A DC
- Plug: USA/EU/UK/AU Plug (optional)
- Accuracy: 0.08mm
- Engraving speed: 10000mm/min
- Carving method: USB/APP/Wireless Web Application/Touch Control Screen
- Interface: USB
- File format: .nc/.dxf/.bmp/.jpg/.png/gcode/.svc etc.
- Engraving mode: image/text/scanning/outlining/pixel engraving, etc.
- Support software & system: LaserGRBL (Windows)/LIGHTBURN (Universal)
- Continuous working time: ≤24Hrs
- Machine Size: L570*W510*H150MM
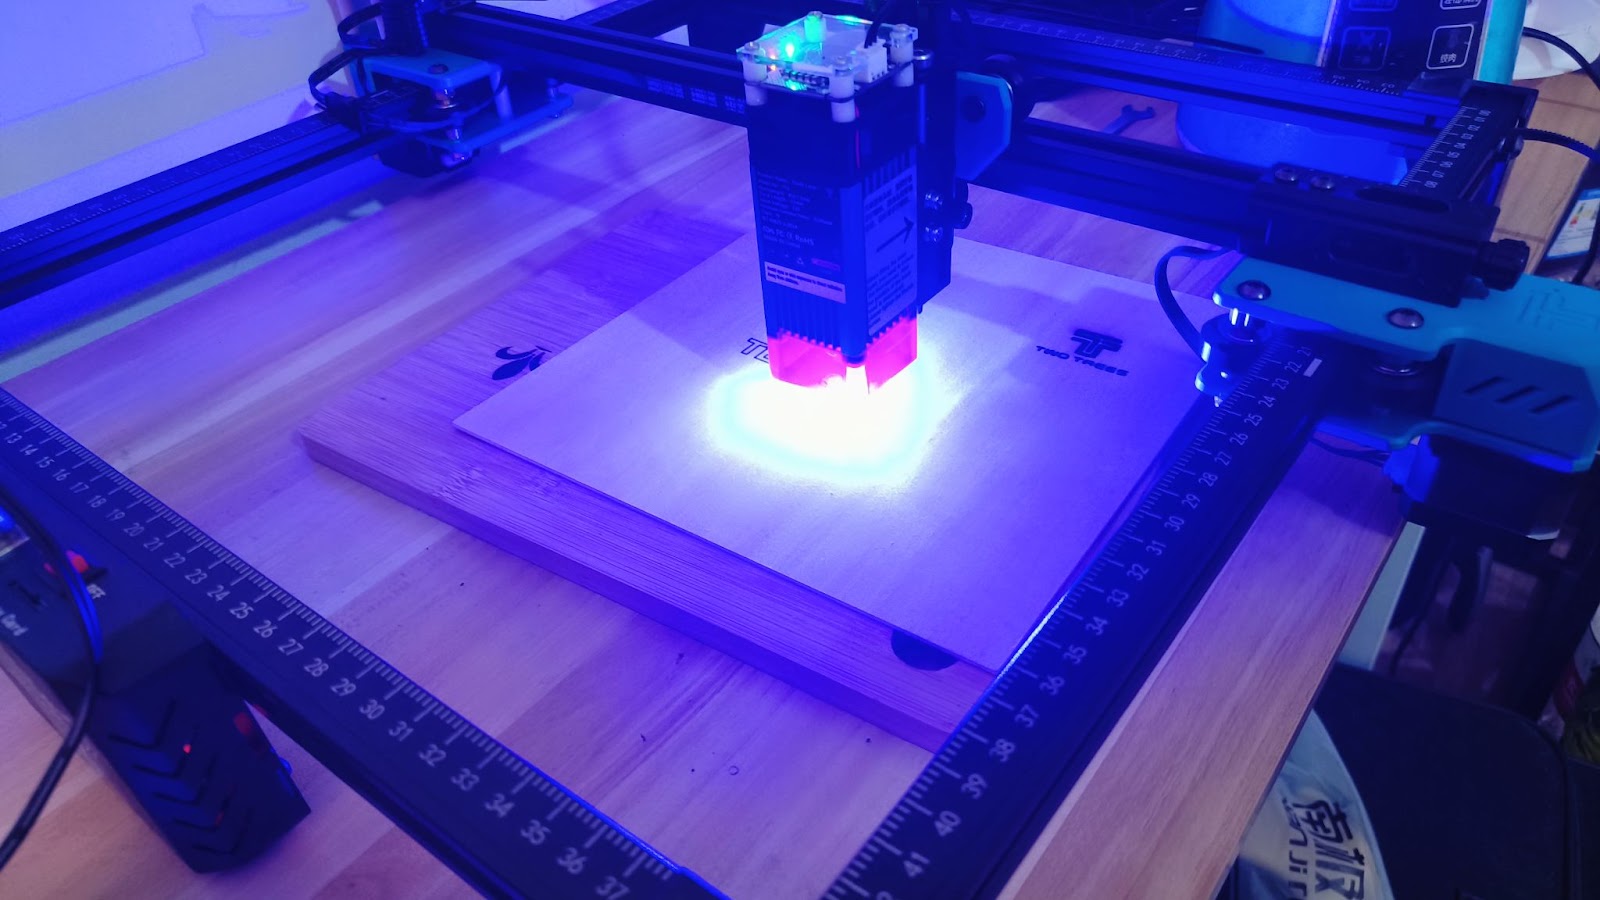
Hardware Setup
After putting everything together, it was now time to have fun. There are three ways to run the TTS-55: using the included TF card, the included USB drive, or just connecting straight to the computer. The TF card and USB come with additional software, firmware, and user guides.
Anyway, I decided to go with a direct connection to my PC using the included USB Type-B cable.
Once I set up the laser head’s height and connected the USB cable to my PC, it was time to set up the software.
Software Setup
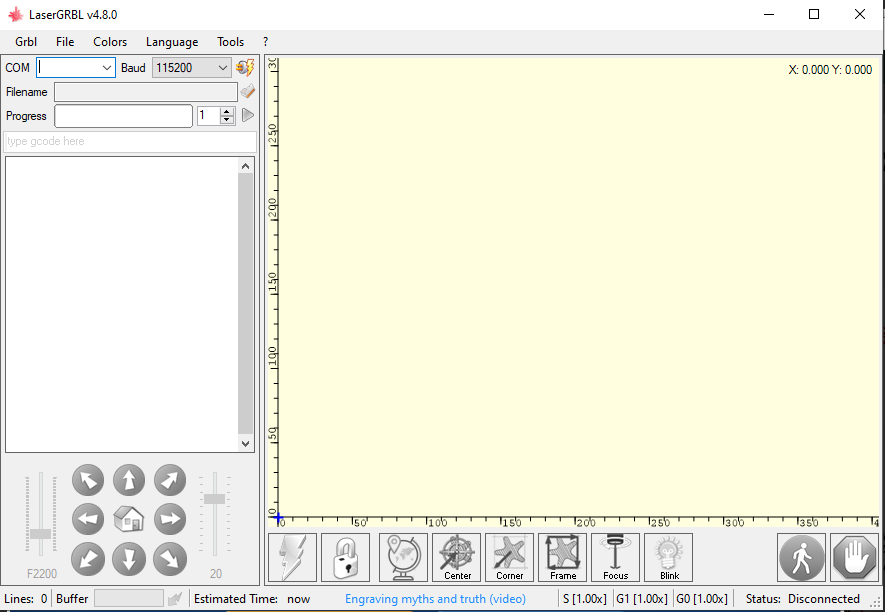
LaserGRBL
The first one I tried was called LaserGRBL. It is free and open-source software for Windows and uses G-code to control the laser head. Using the cartesian graph, the G-code guides the laser head around as it cuts.
Using this software is pretty straightforward. You just upload the file into the software, out in the settings, and let it run.

LightBurn
While LaserGRBL works only on windows, LightBurn works on both macOS and windows. It is more user-friendly than the laserGRBL.
The coolest part of the LightBurn software is, that it allows you to lay a couple of different designs onto one project. For instance, you can have a quote and place a logo in the top corner. Then assign a different speed to each layer. Cool…Right?
LightBurn is not free, but there is a one-month trial period, after which it is $60 for a license key. It is worth it if you can afford it.
Settings
I worked with wood and cardboard only, which meant I had to make sure I set the right balance of speed and power. For example, using too much power when working with cardboard will set it alight (make sure you are doing this in an open space and have a fire extinguisher on hand). Meanwhile, low power on the wood will produce low-quality work.
The good news is, that the staff at TwoTrees provided a list of the best settings for different materials. Other factors affect the settings. Cutting will require a different setting from engraving. The list provided is a good guide on what is the best setting to use.
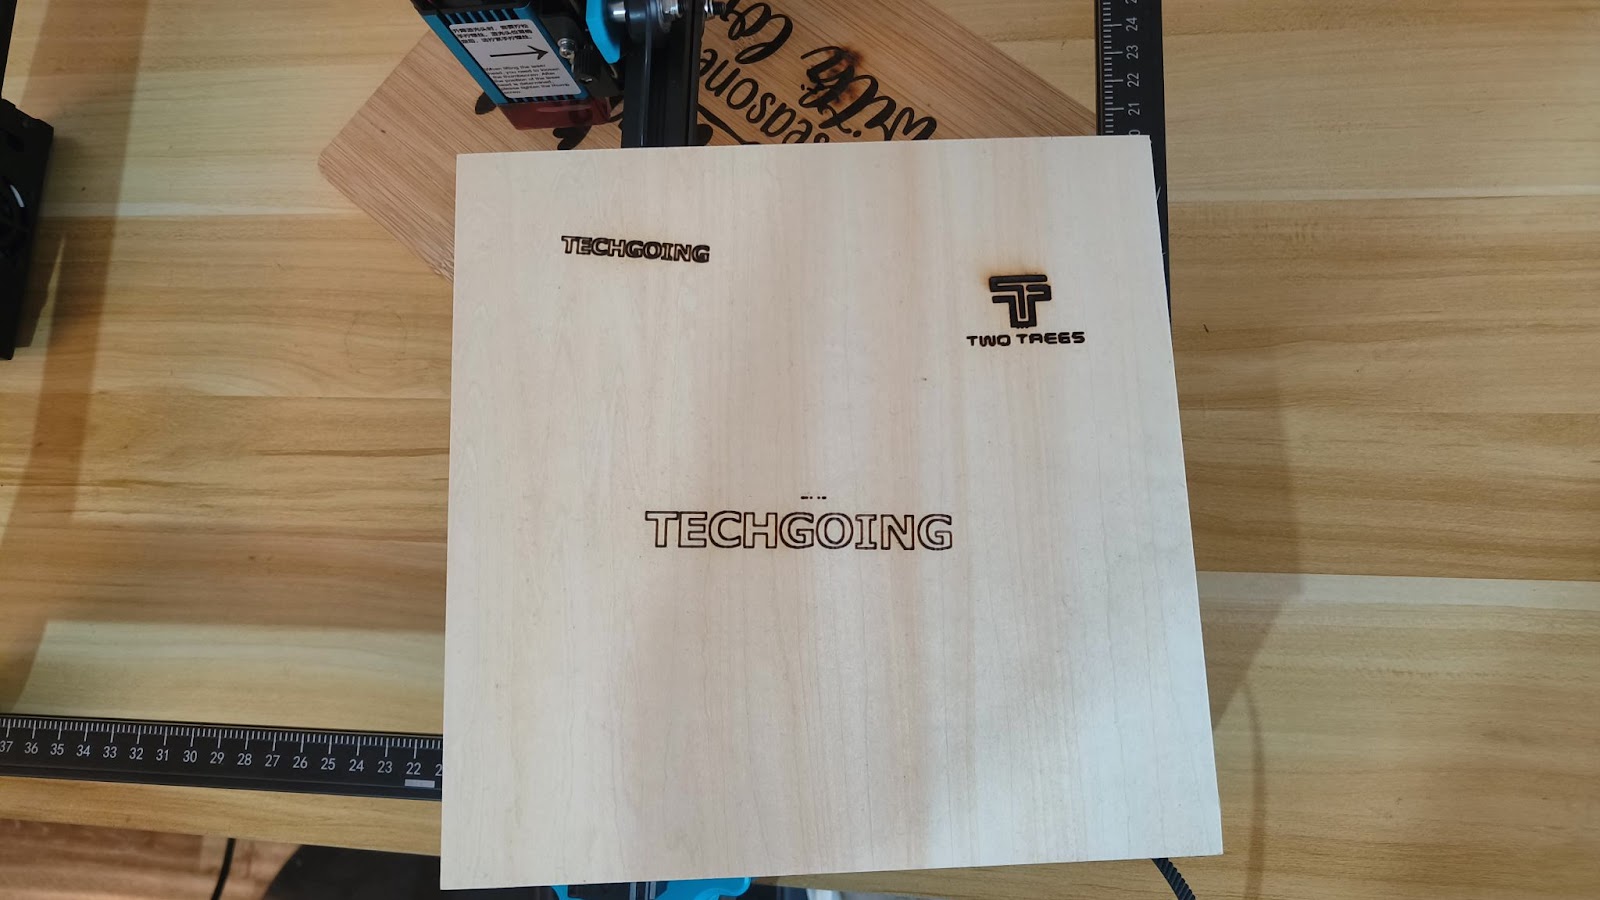
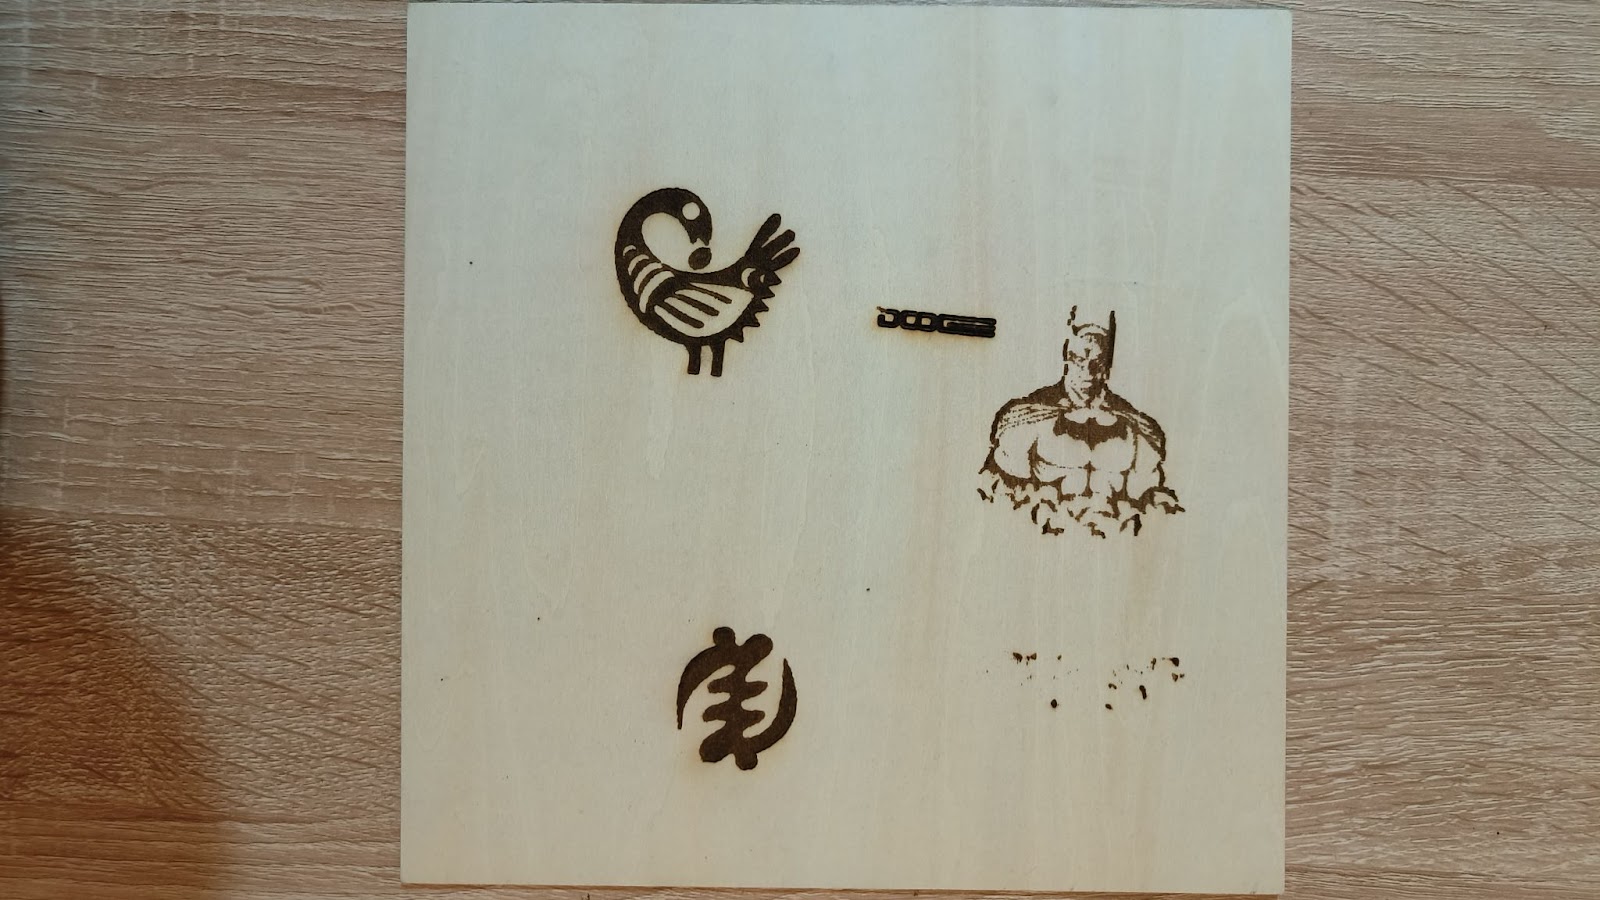
Finished Works

Safety
This is a 5W laser. It is several times more powerful than a common laser pointer, so you should be careful when using one. Keep the following in mind if you get one of these.
- The laser can cut through the skin, so avoid all forms of direct contact.
- Do not look directly at the laser, I would advise you to use the safety goggles at all times.
- Do not leave a working laser engraver unsupervised.
- Keep away from kids.
- Use the acrylic protective box at all times.
- Cutting produces a lot of fumes and smoke so remember to use it in a well-ventilated room or outdoors.
Pros
The TTS-55 is way more fun than I expected. I intend to keep creating more designs. It is perfect for an enthusiast or a beginner. Its pros include:
- Strong build
- Cheap & affordable
- Large work surface 300*300mm
Cons
- No enclosure for smoke and fumes
- The user manual can be improved upon
PS: I only tested the TTS-55 on wood and cardboard. I didn’t test it on the other materials, so I can’t comment on how well it works on them.


